Anywho, I did make something for my bestie because 1. she loves homemade stuff (her family are the kings of collages), 2. I saw it on Pinterest and am so addicted I had to make it, 3. I am rather skint at the moment (Interning is great and I'm learning tons but alas being free labour means my bank account is rather woeful!)
So here is the make. (Alice you are absolutely not allowed to click on the links to where I got things from, instead you must just admire the process and then turn and admire the gift in your room) It's super easy, cute and fun to do!

You will need:
1. A glue gun. I bought this one and it's great. Adding the cost of the gluegun in did increase the cost of the overall project but I saw it as a great little investment and, although I said before I don't have time, I will make more things! I am determind to :)
2. Buttons of your choice. Alice loves pink so I chose these gorgeous pink mother of pearl ones. I didn't get through the whole pack either covering the entire letter.
3. Finally you will need the letter of your choice, which I got from here.
First of all I painted the letter. We had some quick dry gloss in the house already so I used this and it worked perfectly. I painted all over the letter with two coats to ensure the colour was even and smooth.


Next I began glue-gunning...hot-gluing...not sure which one sounds better...anyway...I began sticking the buttons on.

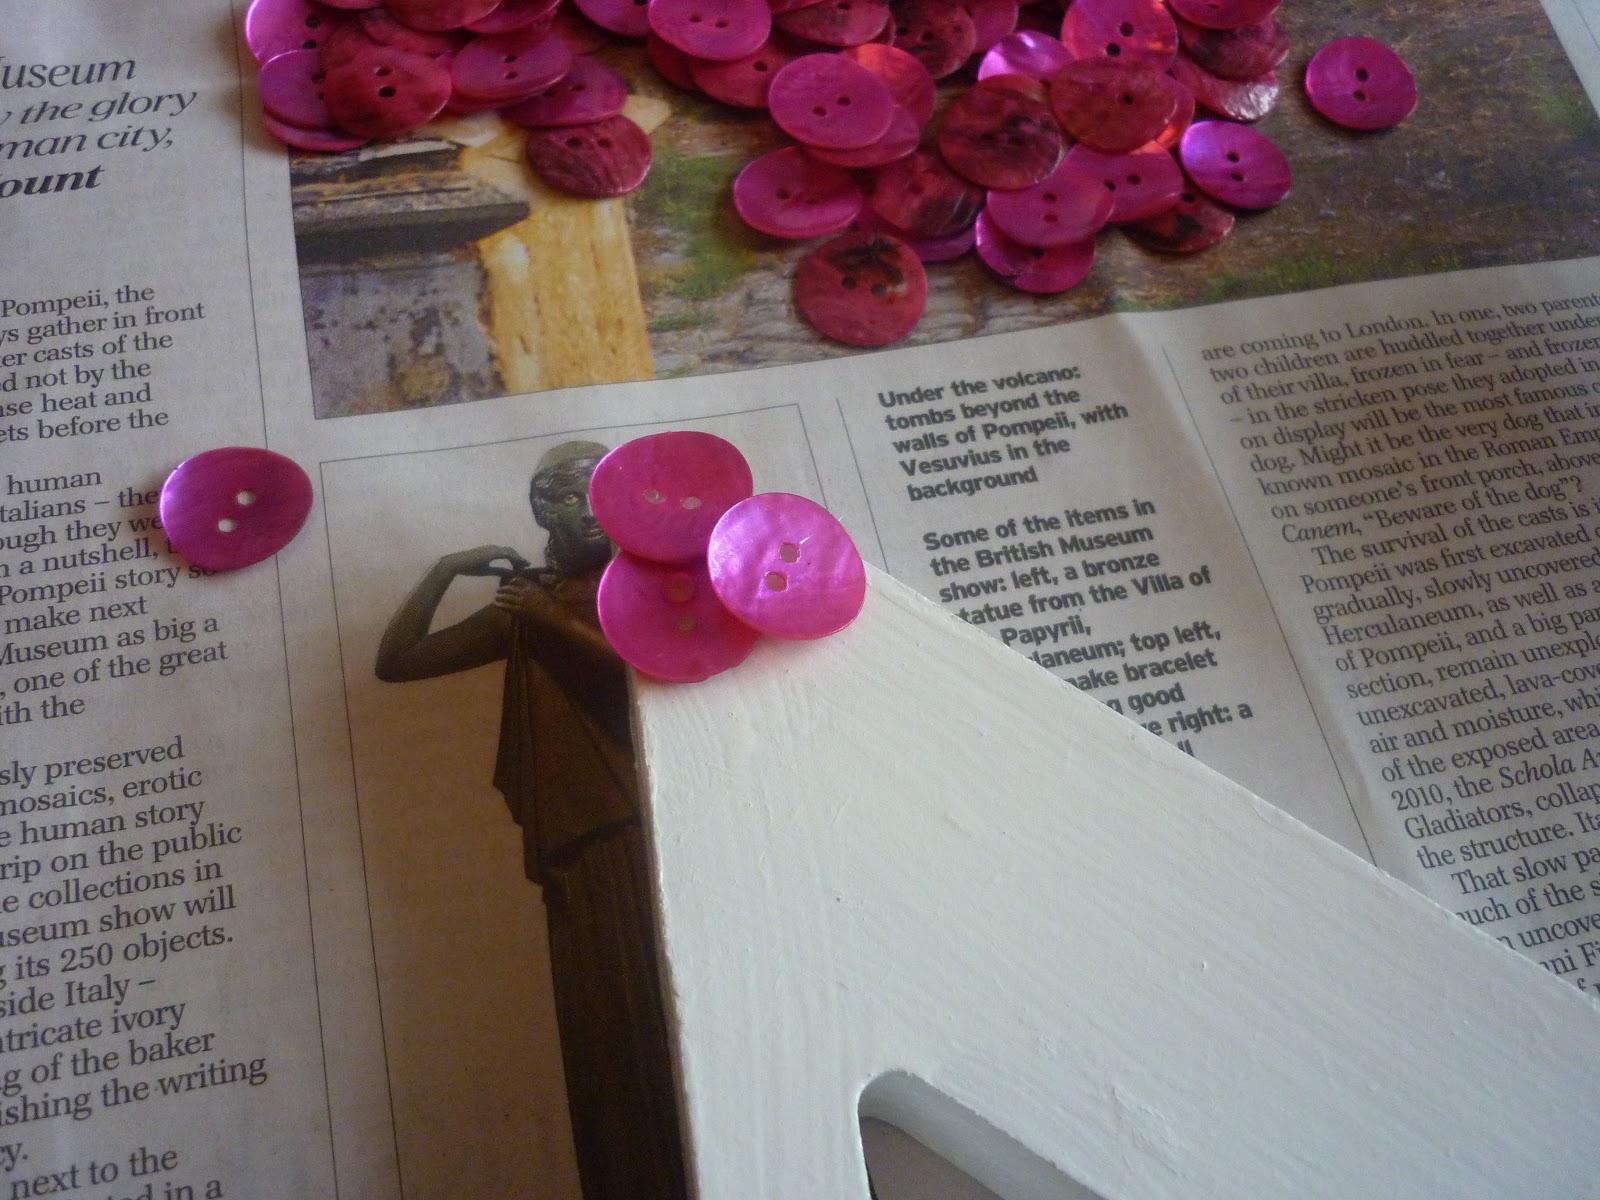

Next are some images kindly taken by my mother showing how I placed the buttons on individually working with glue as it was cooling as it was still tacky to position the button.


Nearly there...

And VOILA!

The longest part of the process was actually letting the paint dry between coats but the actual glueing of buttons took very little time at all! It felt really nice though giving someone a gift that you know you took time and effort over (seriously though, friends whose birthdays are coming up...please don't expect one at the moment! I will try next year or for Christmas or something instead!)
I hope you liked this little make blog post, let me know if you did. I know it's a bit different to normal but I just wanted to share it with you all as a cheaper but still lovely gift idea.
Bye for now :)
xxxxx
No comments:
Post a Comment